In this article, you will find how to install the Review Widget, then Set Up Widget to configure review display, and Test Out the widget. To find the source code for the Review Widget, begin by logging into your pulseM account, and navigate to ( Settings > Dispatch > Web Widget ).
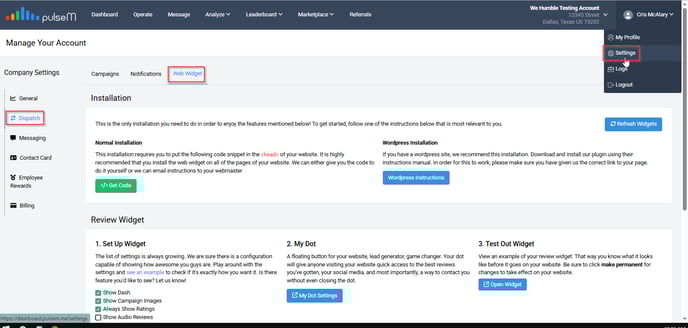
The Review Widget is fixed on your website page. This means that it will automatically display on the chosen pages and will not float with the page as you scroll up or down. This widget will display a feed of every positive pulseCheck and social media review that your company approves, as well as a total review count and 5 star badges for the sites you have 5 stars on.
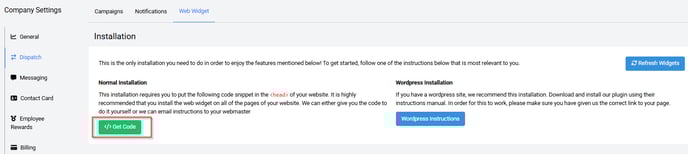
Get Code and Instructions to Install
To install the Review Widget code on your website, you will need to install the pulseM source code into every page desired. To begin, click the green Get Code button located under the Normal Installation section.
Then, send the instructions for installing the Review Widget to your webmaster's email. Click on the green Email Webmaster button and enter the email address.
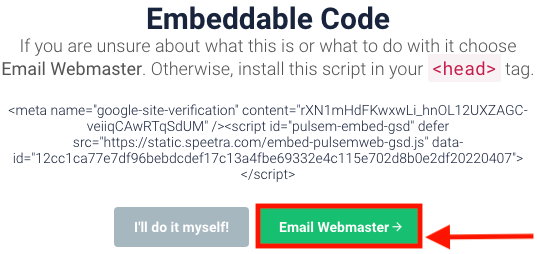
There will be two codes sent in this email, please use the second code to install the Review Widget. The first code is for My Dot installation. If you need to install My Dot, please visit our My Dot article.
Configure the Review Display
You may configure the review display in the Review Widget and My Dot in the Set Up Widget section.
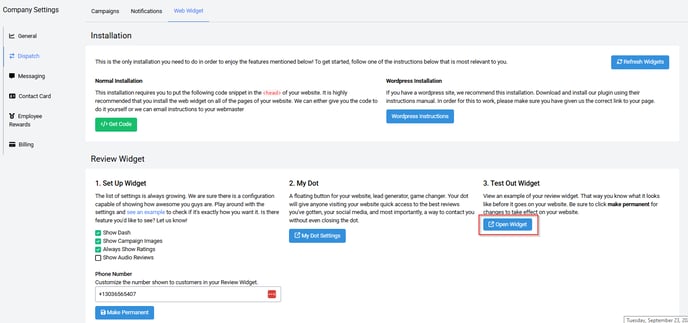
To configure the review display on all widgets, you may choose to check the boxes for Show Campaign Images, Always Show Ratings, Show Audio Reviews, and Show Dash (visit our Dash article for more on the Dash). Once complete, click the blue Make Permanent button.

To see an example of your Review Widget without navigating to your website, click the blue Open Widget button.
Then, you will see the following display.
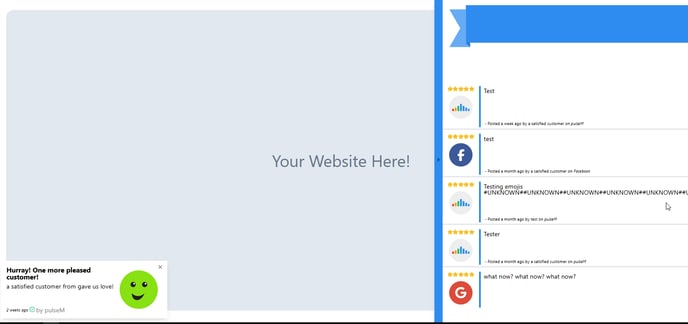
Please note that the pulseM "Dot" and Review Widget only show reviews chronologically from a max total of 50 reviews sampled:
- 20 pulseM internal reviews
- 10 Facebook reviews
- 10 Google reviews
- 10 all other social media reviews
The pulseM team thanks you for following along!