The pulseM Web Widget has been designed to place your company ahead of your competition on Google Organic searches. It allows you to make your social and pulseM reviews visible on the website in almost real time. More importantly this technology properly indexes all the reviews on Google so your location show up higher on searches and eventually "Be Chosen" for business.
In this article, you will find how to place the Web Widget code snippet into your website to configure My Dot. To find the source code or configure your features, begin by logging into your pulseM account, and navigate to ( Settings > Dispatch > Web Widget ).
Please note that the pulseM "Dot" and Review Widget only show reviews chronologically from a max total of 50 reviews sampled:
20 pulseM internal reviews
10 Facebook reviews
10 Google reviews
10 all other social media reviews
Get Code and Instructions to Install
There are two ways to install the code depending on the website you have. For WordPress website installation go to WordPress Installation in the Table of Contents or navigate towards the bottom of this article, otherwise continue here. To install the Web Widget code on your website, you will need to install the pulseM source code into the <head> of your website. To begin, click the green Get Code button located to the left of your screen.
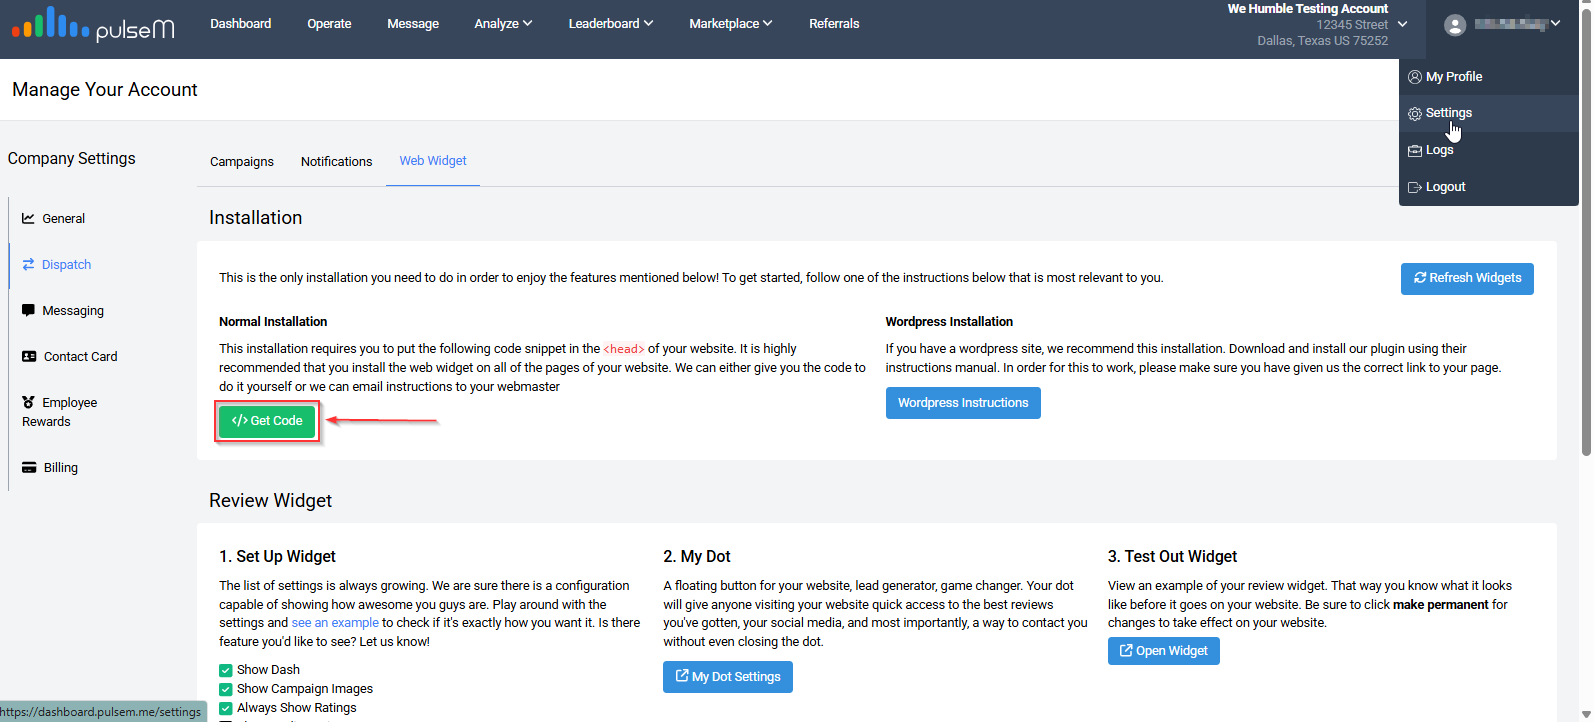
Then, send the instructions for installing the Web Widget to yourself or webmaster's email. Click on the green Email Webmaster button and enter the email address.
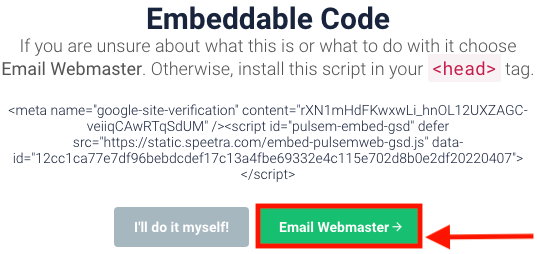
You will receive two codes in the email, please use the first code to install the My Dot. The second code is for Review Widget installation. If you would like to install the Review Widget , please visit our Review Widget Article.
Enable/Configure/Disable My Dot
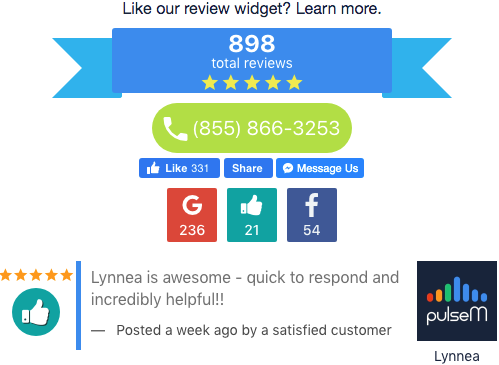
The Web Widget code enables the display of My Dot on your website which contains Google Structured Data. Your Dot will give anyone visiting your website quick access to your best social media and internal reviews, and most importantly, a way to contact you without even closing the Dot!
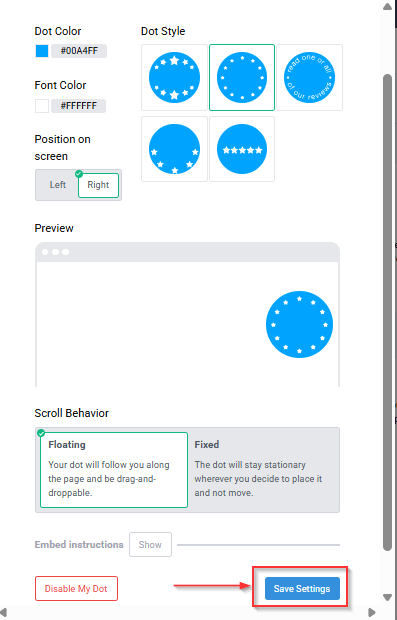
Once the web widget code snippet is installed in your website, My Dot will need to be enabled from your pulseM account. To enable the Dot, click on the blue My Dot Settings. If you do not see the Enable My Dot button, this means your widget is already enabled! Your widget will now be seen on your website.
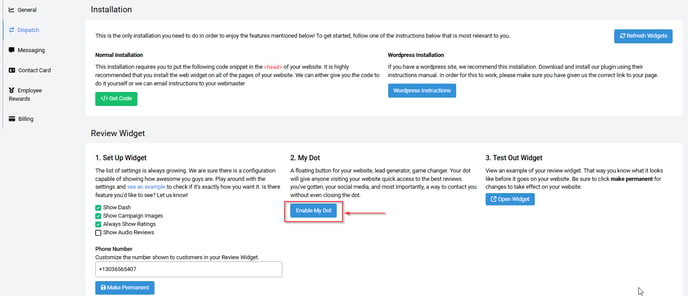
Once enabled, My Dot will display on your website.

Configure My Dot
You may configure the Dot by clicking the blue My Dot Settings. The My Dot Settings will only appear if you have enabled The Dot.
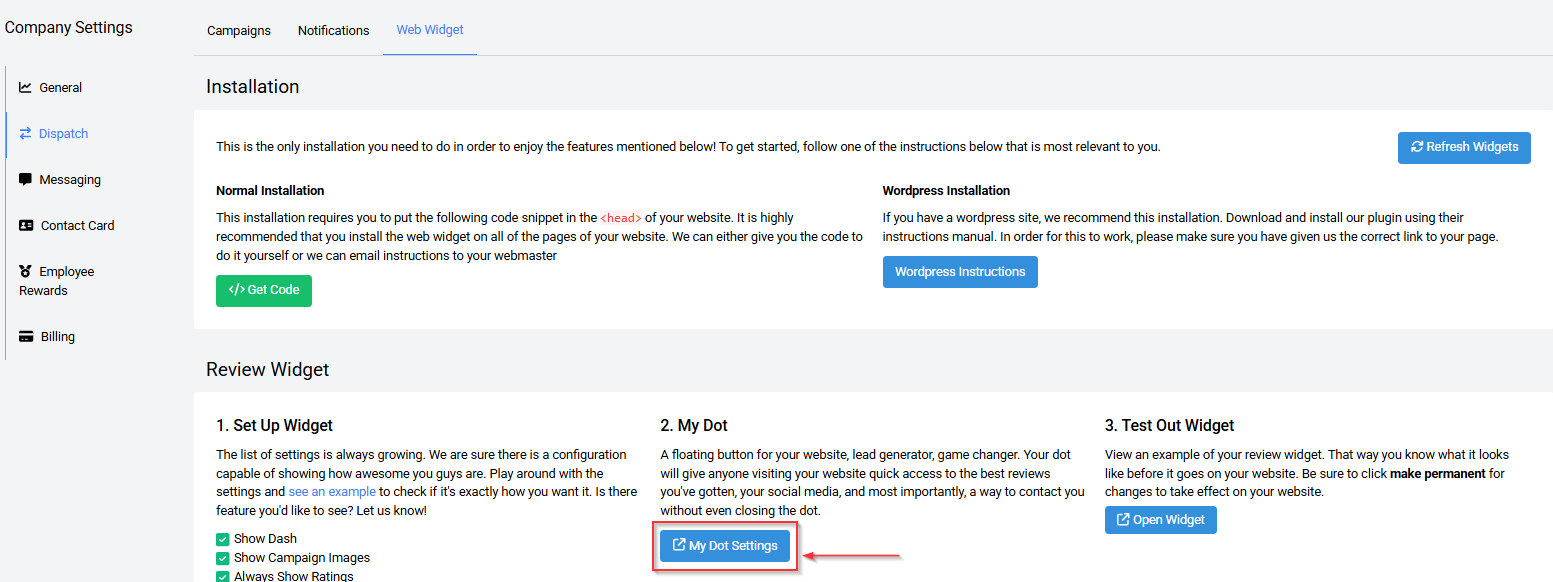
You may configure the Dot's color to match your branding image, choose the side of the page, change the style, and positioning for floating or fixed.
To save your configurations, hit the blue Save Settings button towards the bottom of the settings screen. For review display configuration, be sure to visit our Review Widget Article.
Disable My Dot
To disable your Dot, begin by clicking the blue My Dot Settings.
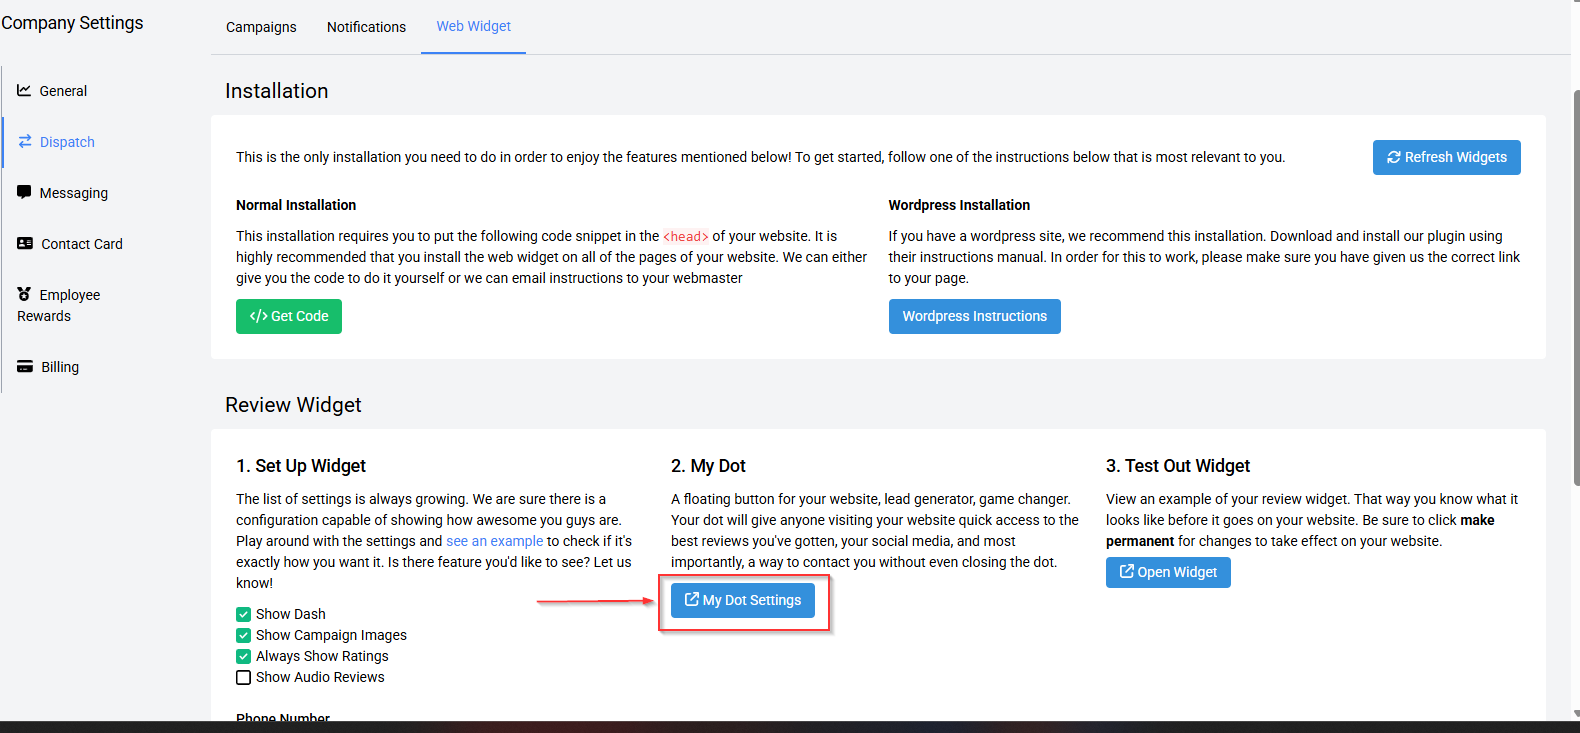
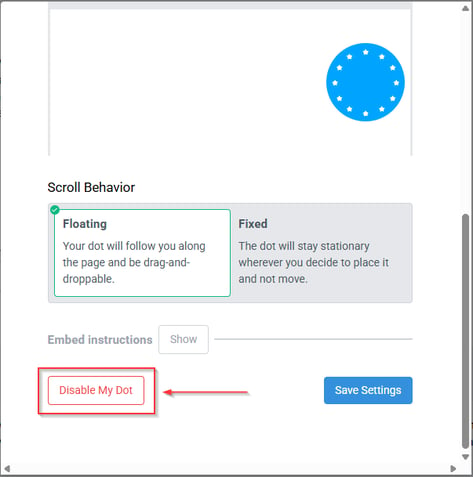
Now, click the red Disable My Dot.
Website Dash
Once the web widget code snippet is installed in your website, your Dash will need to be enabled from your pulseM account to populate on your website if you wish to do so. To enable/configure/disable the Dash, please visit our Dash Article.
WordPress InstallationIf you have a WordPress website, we recommend this installation to download and install our plugin.
1. Download the plugin to your desktop. Click the Download Plugin below.
2. Login to your admin page of your WordPress site.
3. On the sidebar, click the plugins icon.


3. On the sidebar, click the plugins icon.

4. Click Upload Plugin.

5. You should see the following screen. Now we are going to need the file downloaded in step 1. Either drag and drop the file into the section or Choose File to find it in your system. Then click Install Now and make sure the plugin is activated.

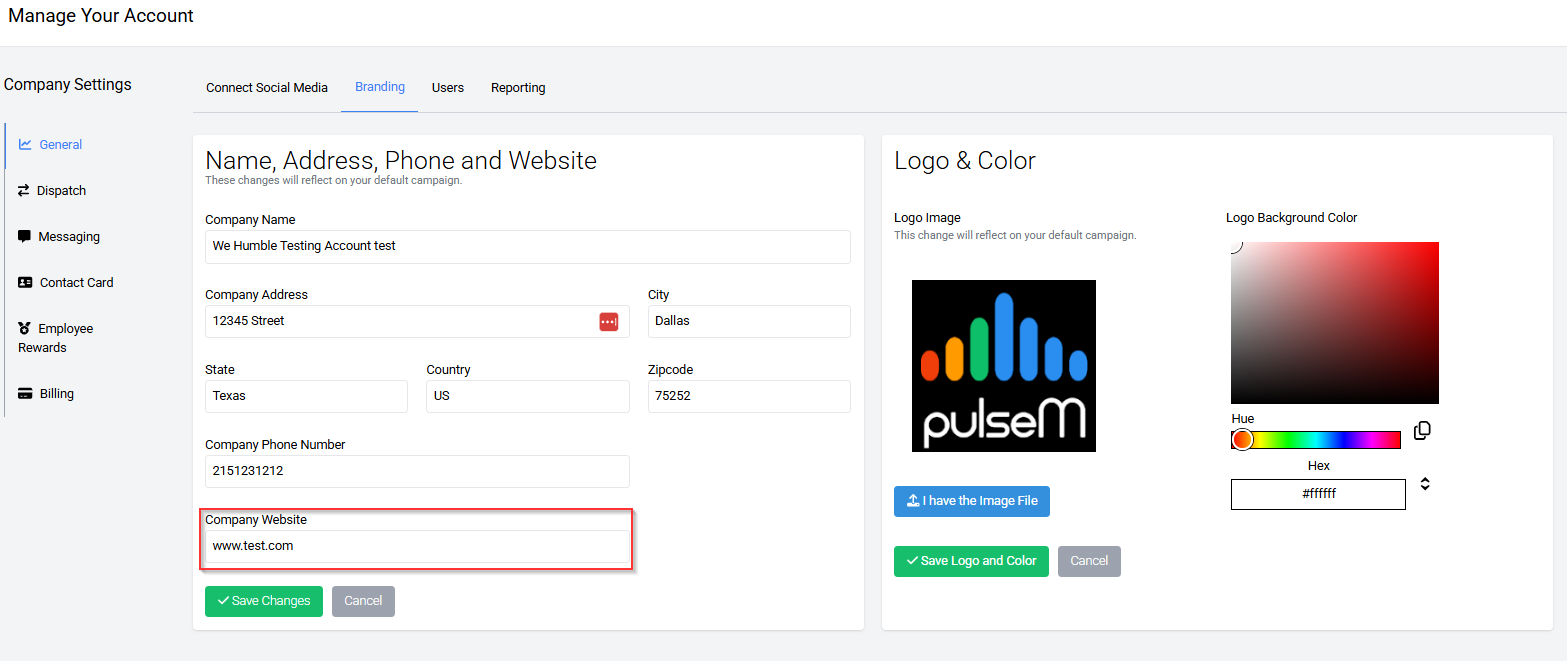
6. In order for this to work, please make sure you have given us the correct link to your page in the Company Website field under ( Settings > General > Branding).
The pulseM team thanks you for following along!
