You can view your Campaigns by first logging into your pulseM account. Next, navigate to ( Settings > Dispatch > Campaigns . ) Here, there are several functions you can perform.
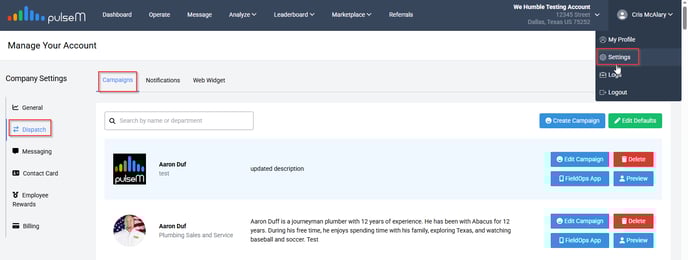
Step 1. Create or Edit a campaign
You can click the ‘Create Campaign’ button on the right-hand side to add a new employee to your account.

You can 'Edit' a preexisting campaign by clicking the 'Edit Campaign' button next to the employee.

Step 2. Configuring a campaign
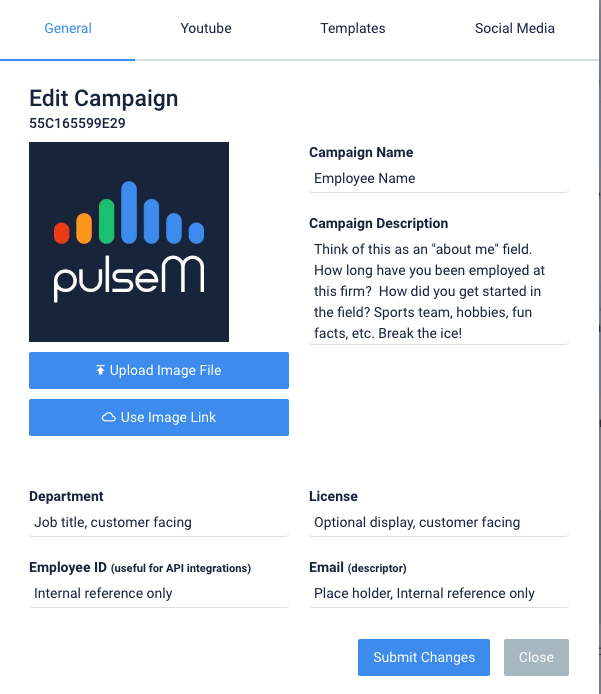
There are multiple fields to fill out once we click the 'Create Campaign' or 'Edit Campaign' button.
Required fields *
Image: Upload an image of the employee. *
Campaign Name: Enter the employee's name. *
Campaign Description: Establish homeowner familiarity with the employee. *
Department: This can be something general (HVAC, Plumbing, Service, etc.). *
License: Here you may enter a state or employee license if you wish to display it in the Bio.
Employee ID: This field is required for integration with any CRM or scheduling software. (See step 3 if this applies to you).
Email (descriptor): This field is a placeholder for internal reference.
Youtube: The 'Youtube' tab enables you to add a Youtube URL. (See step 4)
Templates: The 'Templates' tab enables you to edit the Bio or pulseCheck message. (See step 5)
Make sure to hit 'Submit Changes' if you are editing and 'Add Campaign' if you are creating a new one. You have now configured the campaign!
 or
or 
Step 3. Employee ID: Configuring a campaign for API integration
This field is important when integrating with your CRM or scheduling software. The correct ID from your scheduling software must be entered in the pulseM campaign to automatically dispatch Bios and pulseChecks.
In order to make sure that a new campaign is correctly configured for your API integration, go to ( Settings > Dispatch > Campaigns.) Next, press 'Edit Campaign'.

In the box that says 'Employee ID', enter your technician's ID provided in the CRM or scheduling software that you use.
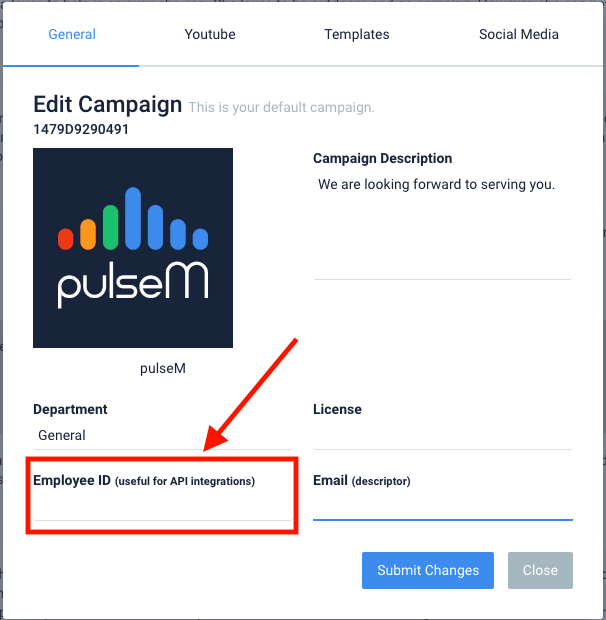
And that's it! Make sure to hit 'Submit Changes' to save the Employee ID.

Step 4. Adding a Youtube Video
Videos are a great tool for your technician's introduction with the homeowner, marketing a company video, or relaying an important message. If you wish to add a Youtube video, locate the 'Youtube' tab when creating/editing a Bio, and paste the Youtube URL in the field provided.
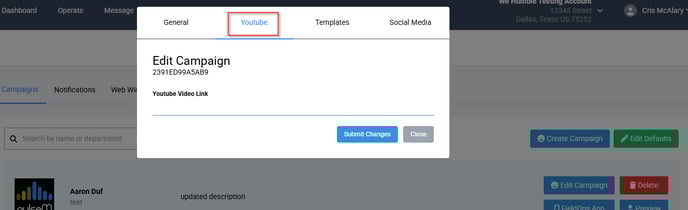
Make sure to hit 'Submit Changes' to save the video.
Step 5. Editing Templates
If you wish to change the SMS or email message template for the Bio or pulseCheck, please see below.
Click on the green 'Edit Defaults' button

Replace any of the text under the pulseCheck and/ or Bio SMS templates
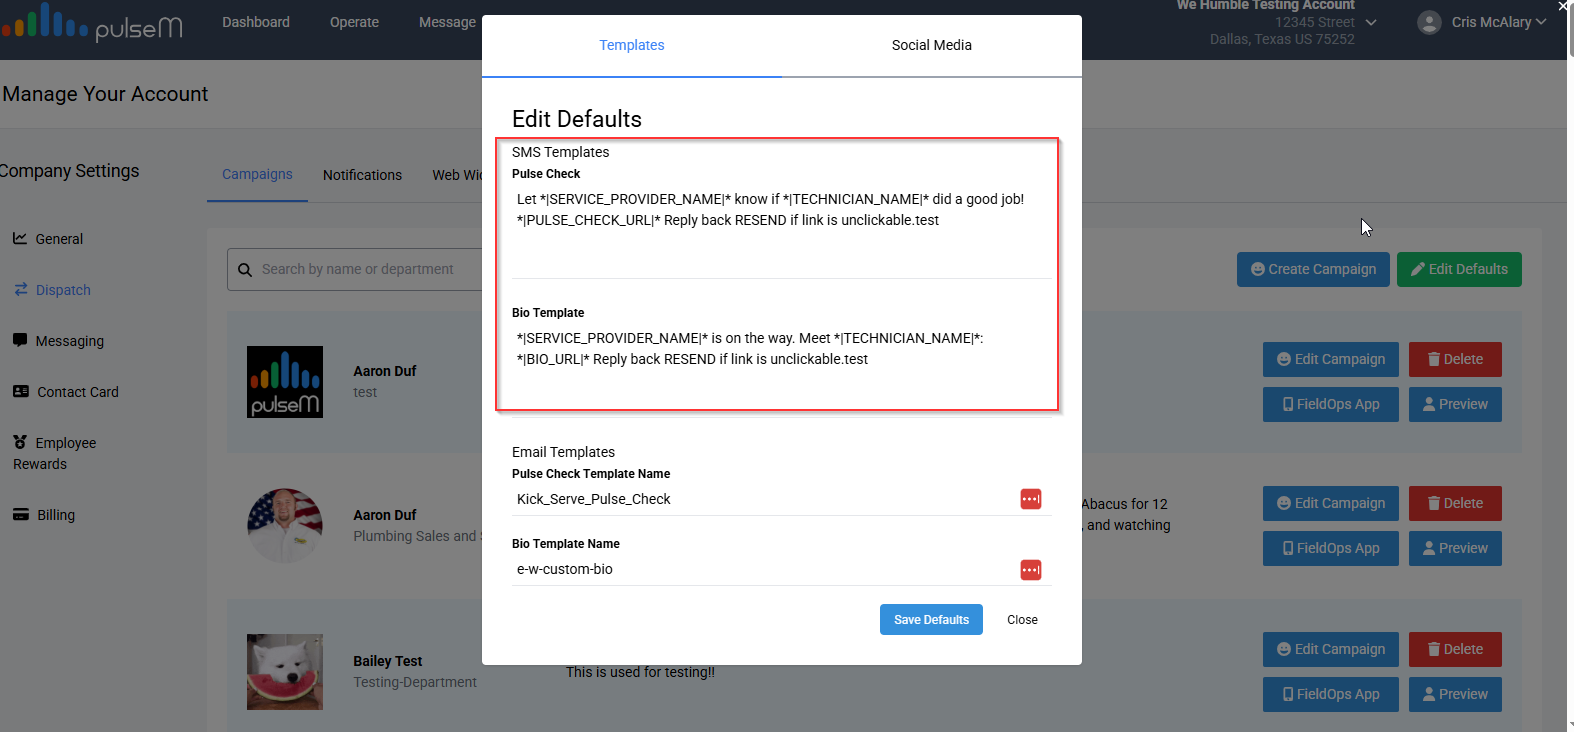
Please note that the default templates are carefully thought out to accommodate the 140 character limit for SMS messages, as well as the variability in company name and technician name. Before changing your default templates, it is a good idea to call or message us to ensure that your new template will send properly. It is also important to note that you cannot change the 'Email Templates'. If you need these changed, please contact the support team so we can assist.
Campaign Specific:
Changing the Campaign SMS template will only change the message that gets sent for the Campaign you are changing. This will override the company default message.
How to:
Click on 'Create Campaign' if you are creating a new Campaign or 'Edit Campaign' if you have an existing Campaign
Click on 'Templates' across the top of the pop out box
Step 6: Replace any of the text under the pulseCheck and/ or Bio SMS templates
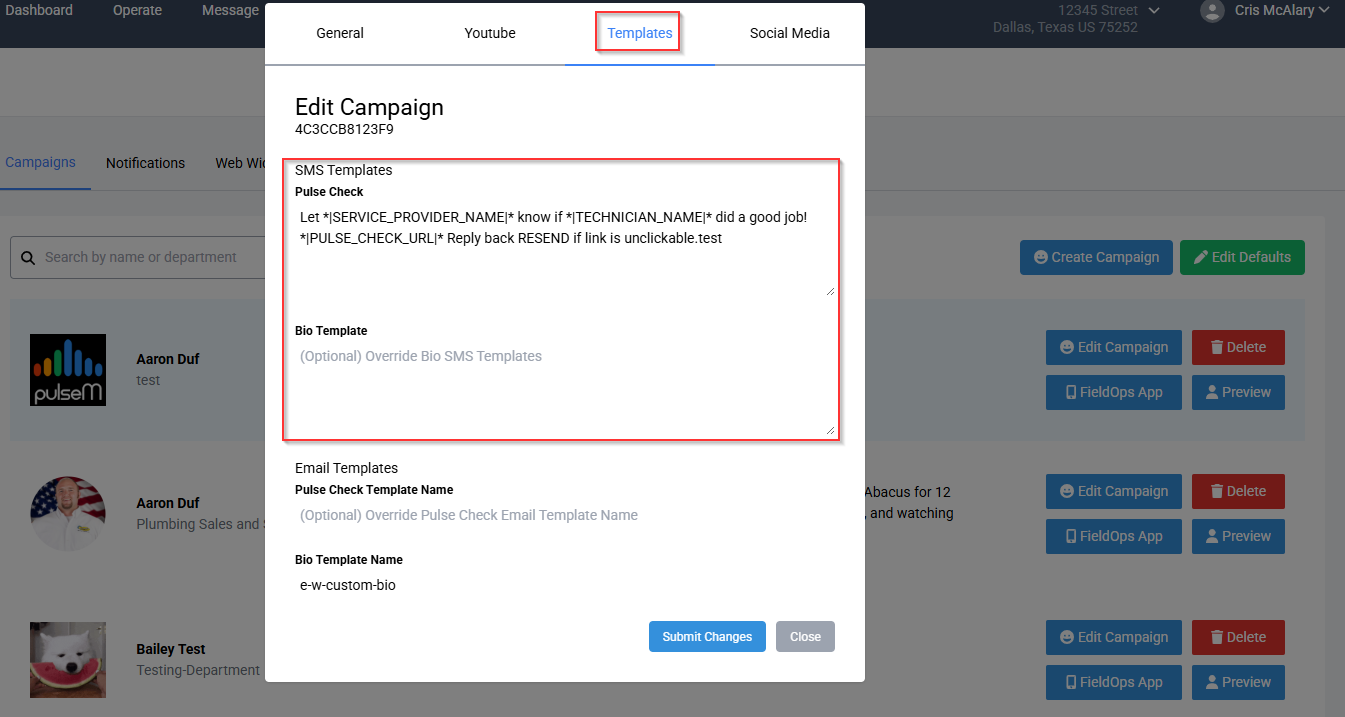
Please note that you cannot change the 'Email Templates'. If you need these changed, please contact the support team so we can assist.