You can configure your Branding settings by first logging into your pulseM account. Then, navigate to ( Profile Icon > Settings > General > Branding). Then you will see a list of settings that will allow you to configure your branding preferences for your pulseM account.
Please update this section with the same branding that you use on your social media platforms.
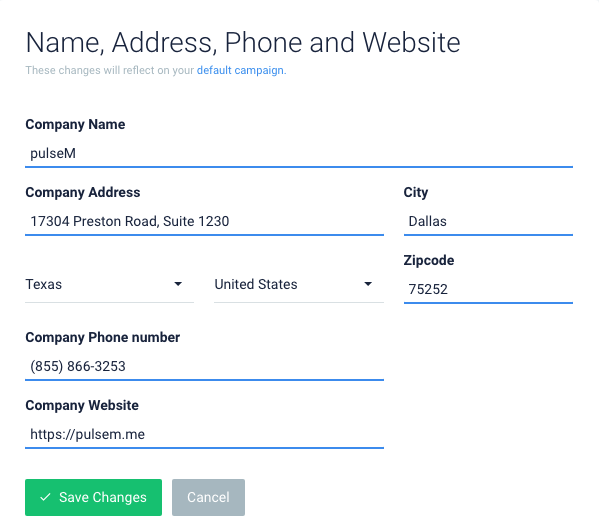
Please note that by changing the 'Company Name' field, you will be altering what your customers see wherever we place your company name (which will be included in all notifications we send out). Also note that the 'Company Phone number' field is a customer facing contact that will be displayed for customers with concerns (see image below). If your customer submits the 'Negative' or 'Neutral' sentiment in the pulseCheck, your 'Company Phone number' will be displayed for that customer to contact you directly before continuing with the pulseCheck review.

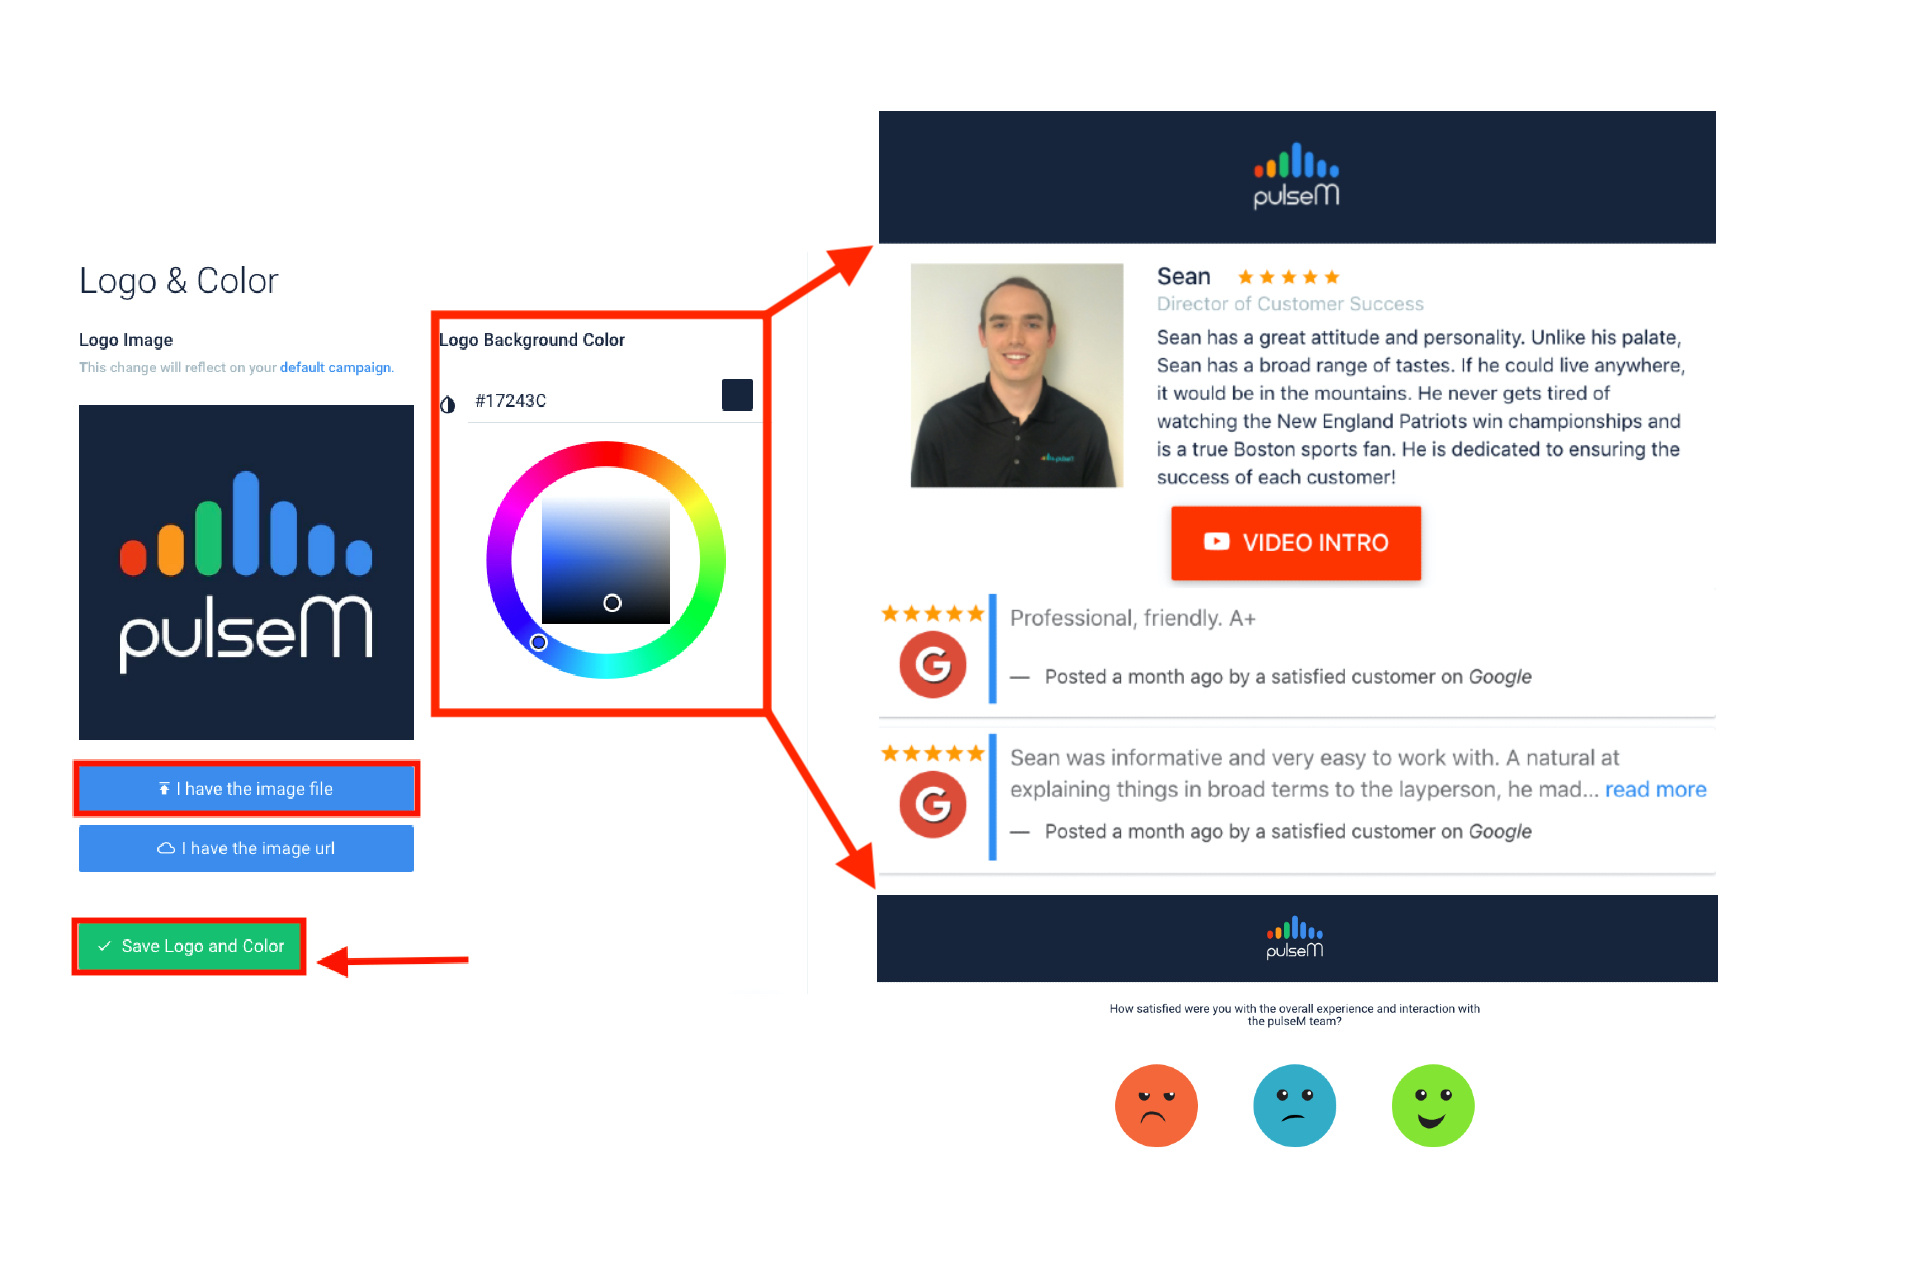
The 'Logo & Color' tile is where you can fine tune the look of your Bios and pulseChecks to look like they're coming from your company. You have full customization abilities over the Logo and Color that will appear on the top of your messages to customers.
To upload a logo, please locate and click 'I have the Image File' or 'I have the image url' button. Square photos (of equal dimensions) generally work best. To customize the 'Logo Background Color', click on the color that you would like to display and click the 'Save Logo and Color' button. The logo background color will appear behind your logo in the Bios and pulseChecks as seen in the image below. If your logo has a white background, saving a white logo background color generally works best.